Publishing a campaign

Help Center/Publishing a campaign
Transform your ads into an engaging audio-visual experience by following these simple steps to publish your Flam campaign.
1. Create Your Campaign
- Log in to your Flam Dashboard, and click the Create button.
- Choose your Experience Type (e.g., Prism, Prism Extended, Spatial, etc.), then name your Campaign and assign it to a Campaign Group.

2. Upload Your Assets
- Choose a template group along with the corresponding template and a canvas size that matches the aspect ratio of your campaign image.
- Download the QR code and add it to your image before uploading the final version.
- Alternatively, you can publish your campaign first. Once published, you’ll receive a QR code and its link, which you can download or copy to share.
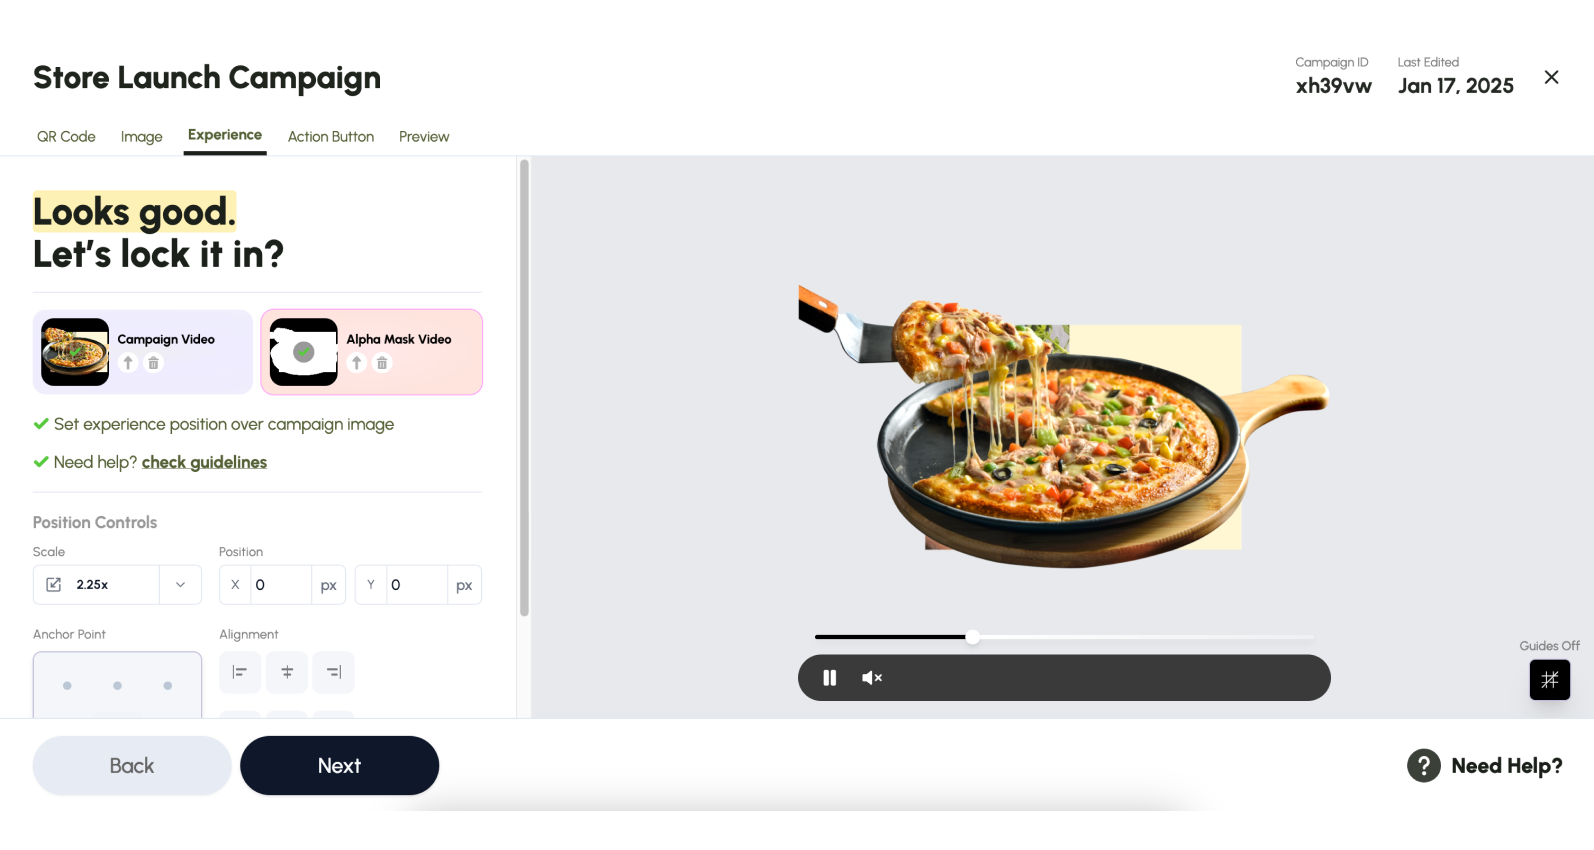
- Upload your Assets (video, mask video, or model), then adjust their positioning and scale to fit your requirements.
- Next, you have the option to add an Action Button (e.g., to a website or WhatsApp).
3. Publish Your Campaign
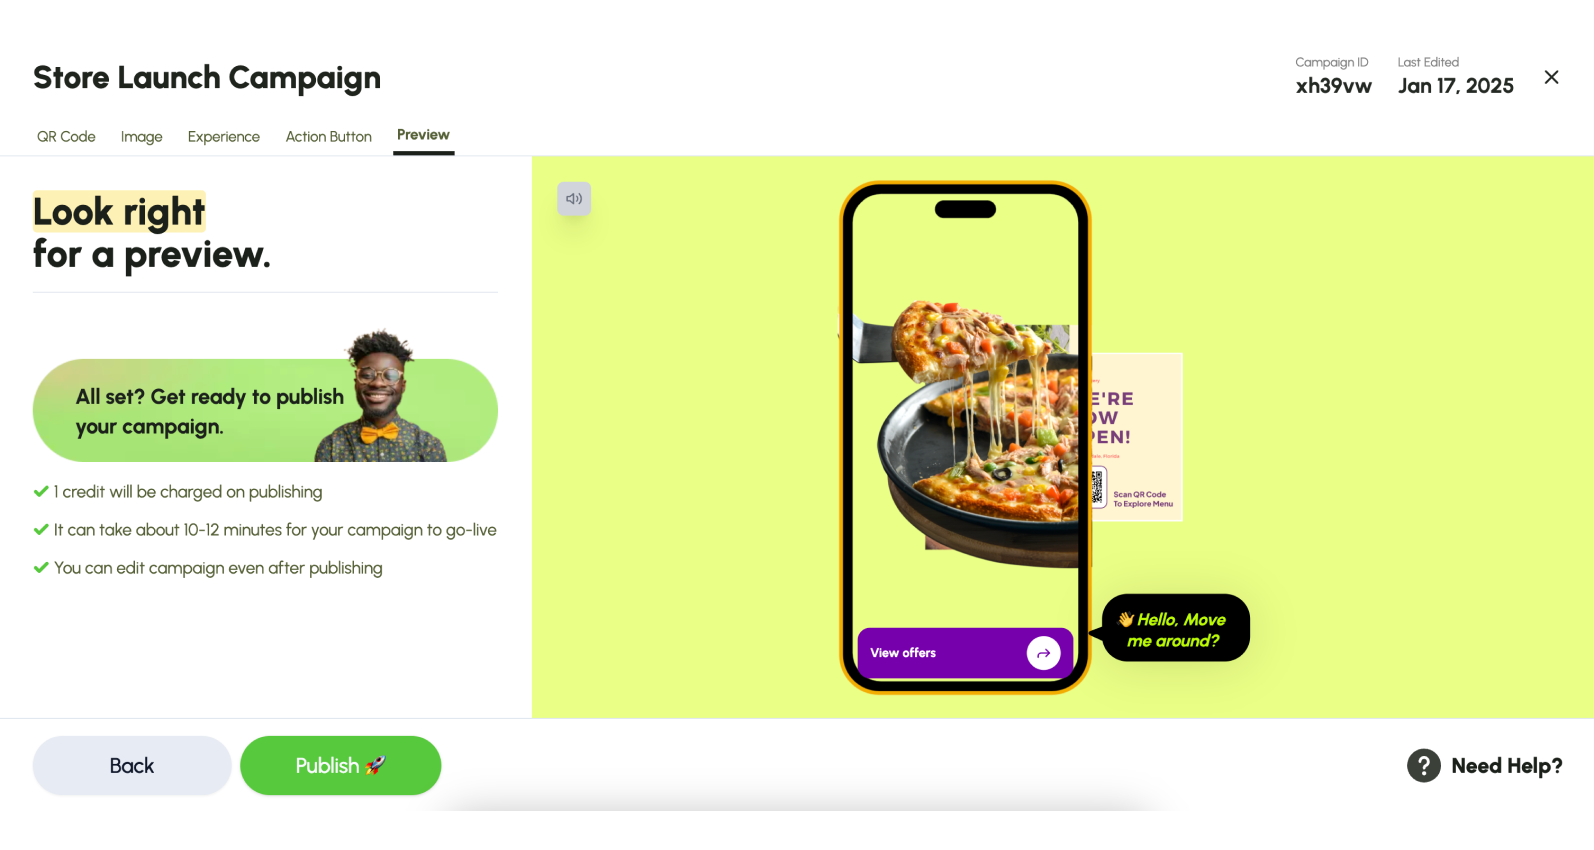
- Use the Preview Mode to review the placement, scan prompt visibility, and content behaviour.
- Click Publish to go live—one campaign credit will be deducted based on the experience type.
- After publishing, the campaign is live and scannable via the QR code.
- You can edit and re-publish the campaign anytime without additional credits.
Need Help?
Facing issues or need guidance - Contact Support to get in touch with our team.