Style: 3D Alpha Video

Help Center/Style: 3D Alpha Video
Assets Checklist
- Campaign image with space for QR code
- Video & its alpha mask video for the experience
Preparing assets
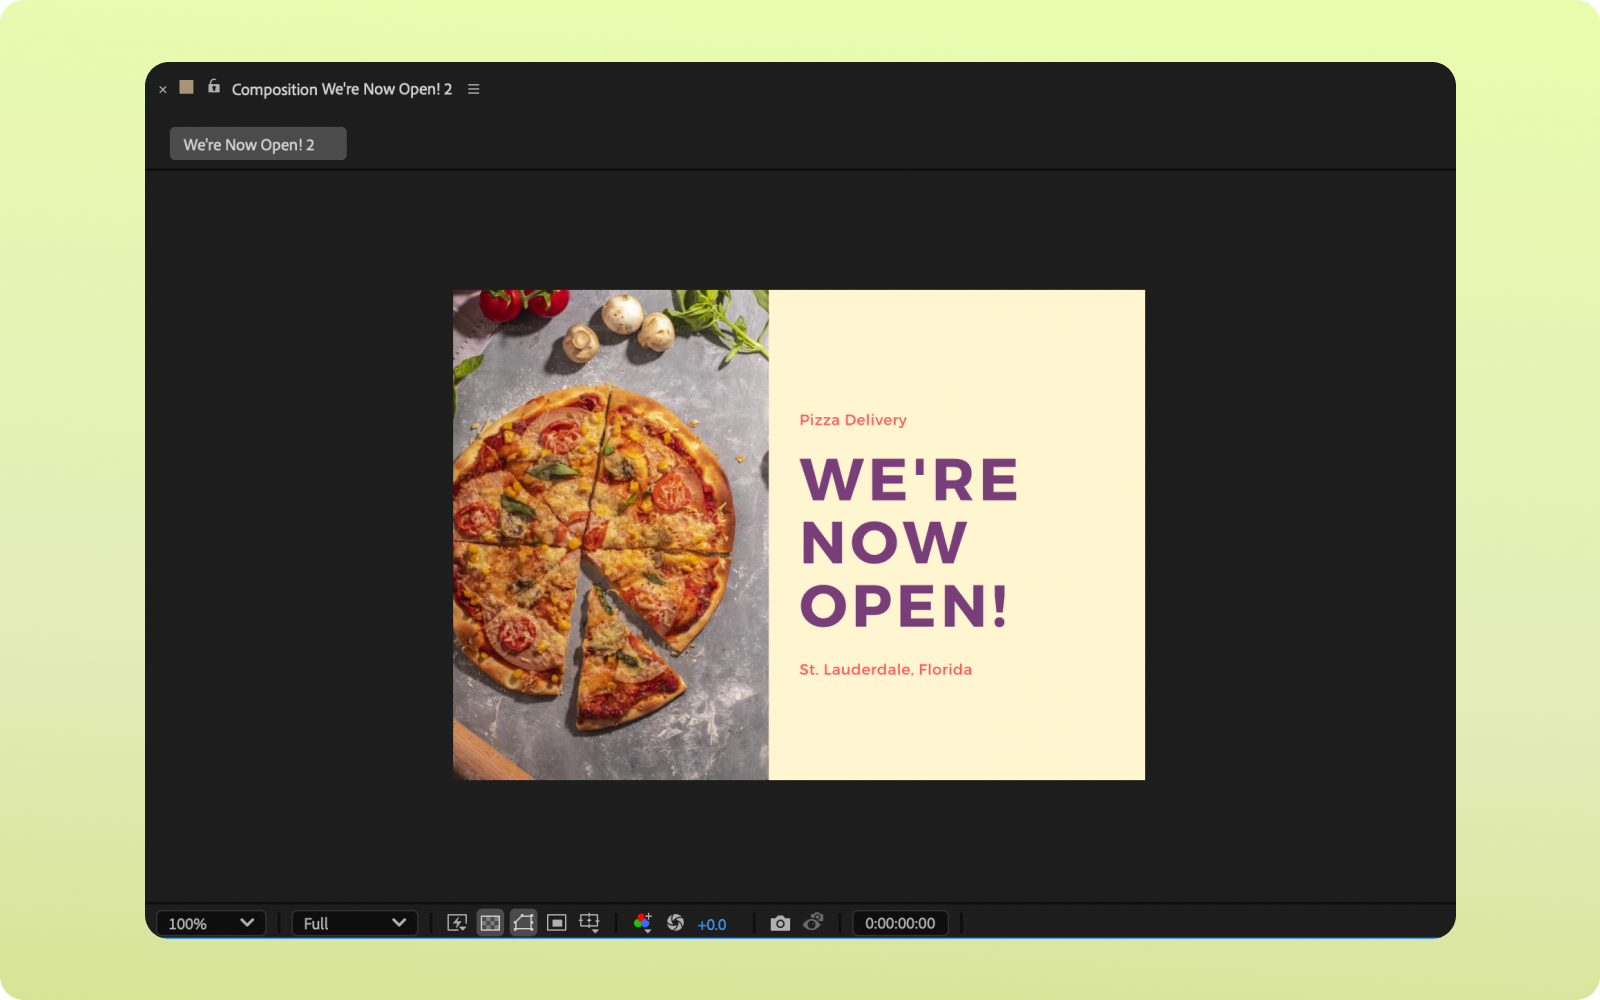
Campaign image
Design your campaign image as you normally would, ensuring it aligns with brand's visual identity. Include a dedicated space to place a QR code, making it prominent yet seamlessly integrated into the design. Add a simple message, such as "Scan the QR Code to Explore More," to encourage viewers to interact with your campaign.
Video & its alpha mask video for the experience
Let’s go through a step-by-step guide using Adobe After Effects, but you can apply these techniques in any video editing software.
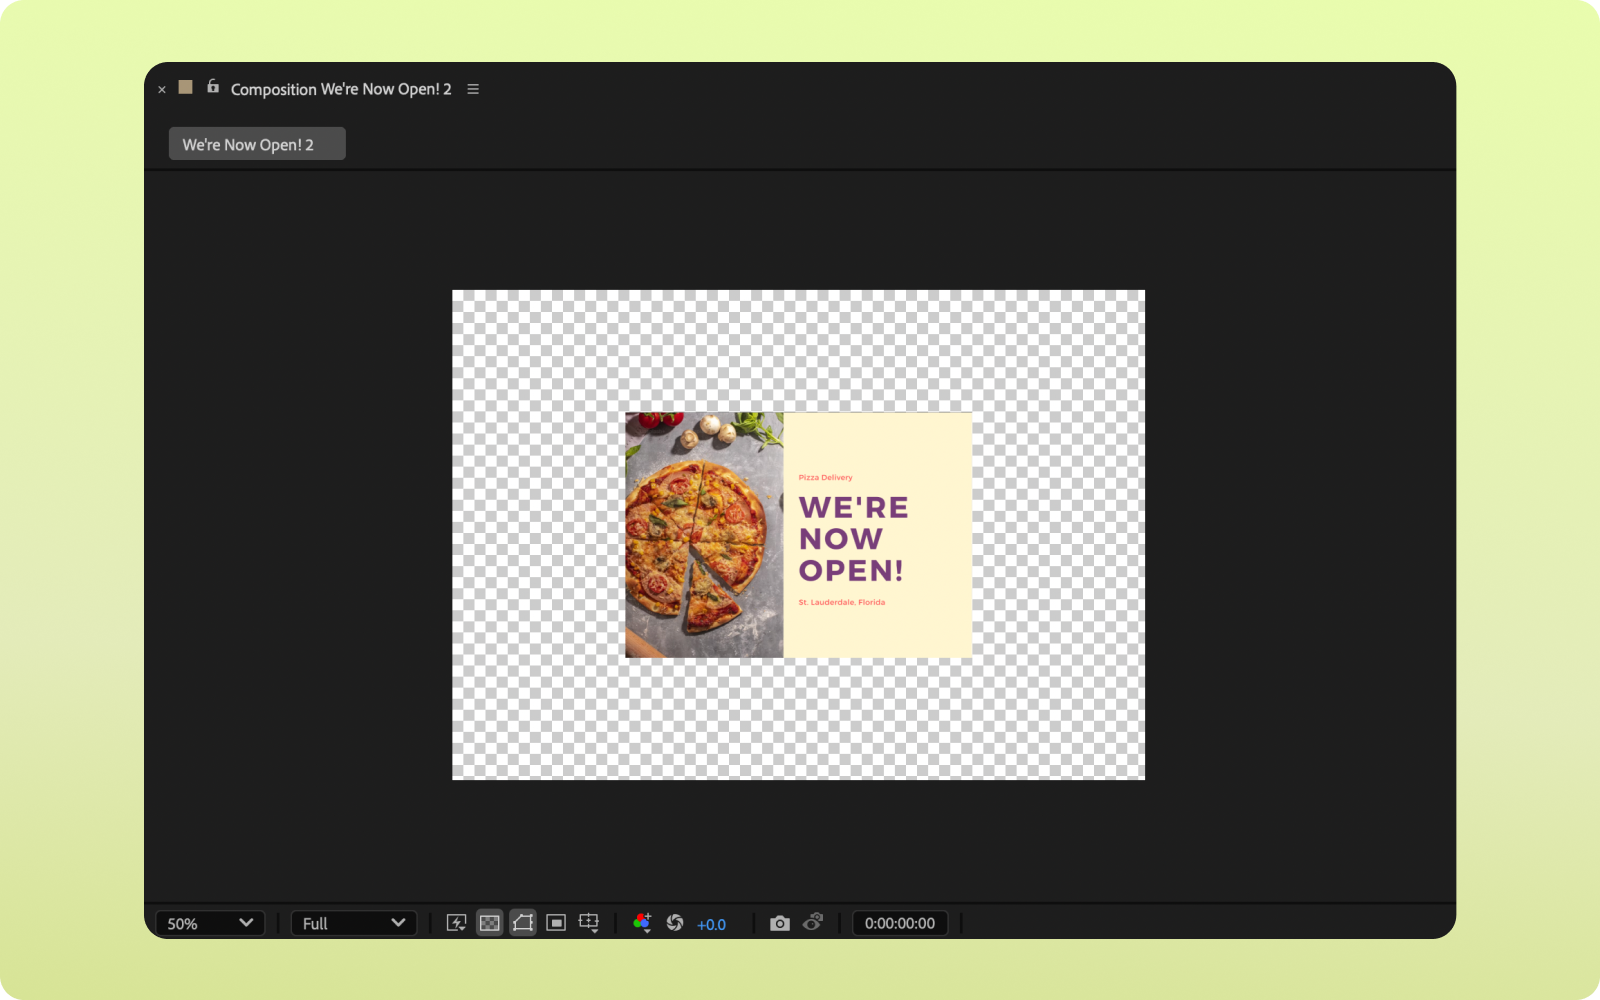
1. Import and Set Up Composition
- Open After Effects and import your campaign image.
- Right-click the image in the Project Panel and select "New Composition from Selection" to create a composition.
- Open Composition Settings (Ctrl + K / Cmd + K) and adjust the comp size as needed. A 2x scale of the campaign image is a good starting point, but you can modify this later.
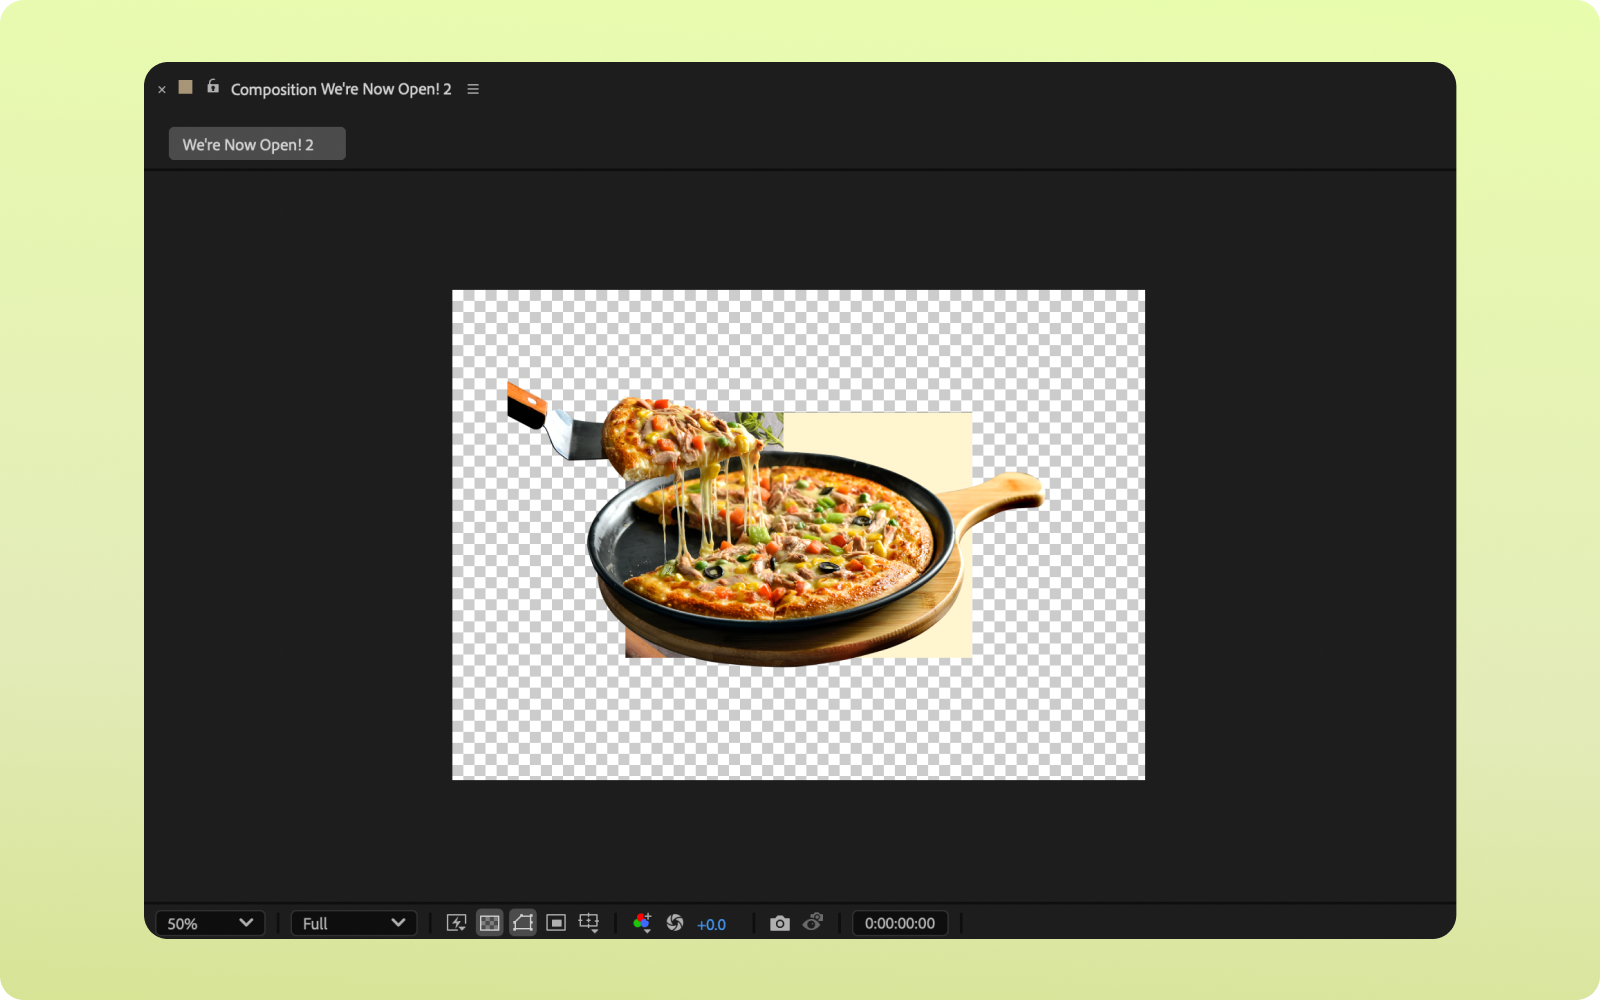
2. Add and Composite Your Elements
- Import and add your 3D renders, video elements, animations, and music over the campaign image.
- Composite the final experience by layering all elements appropriately.
- If needed, increase the composition size to accommodate additional content.
- Hide the campaign image if not required.
- Check out the best practices for video.
3. Pre-Compose for Better Organisation
- Select all layers and Pre-Compose (Ctrl + Shift + C / Cmd + Shift + C).
- Name it appropriately for better project structure.
4. Define and Crop Region of Interest
- Use the Region of Interest (ROI) tool (Ctrl + Alt + Shift + R / Cmd + Option + Shift + R).
- Define the area where all your content is placed.
- Go to Composition Menu → Crop Comp to Region of Interest to trim the composition to the defined area.
- This step aims to decrease render time and video resolution for faster uploading and processing .

5. Render the Main Video
- Open the Render Queue (Ctrl + M / Cmd + M) and add the comp.
- Choose H.264 format.
- Render this comp—this will be your main video file.
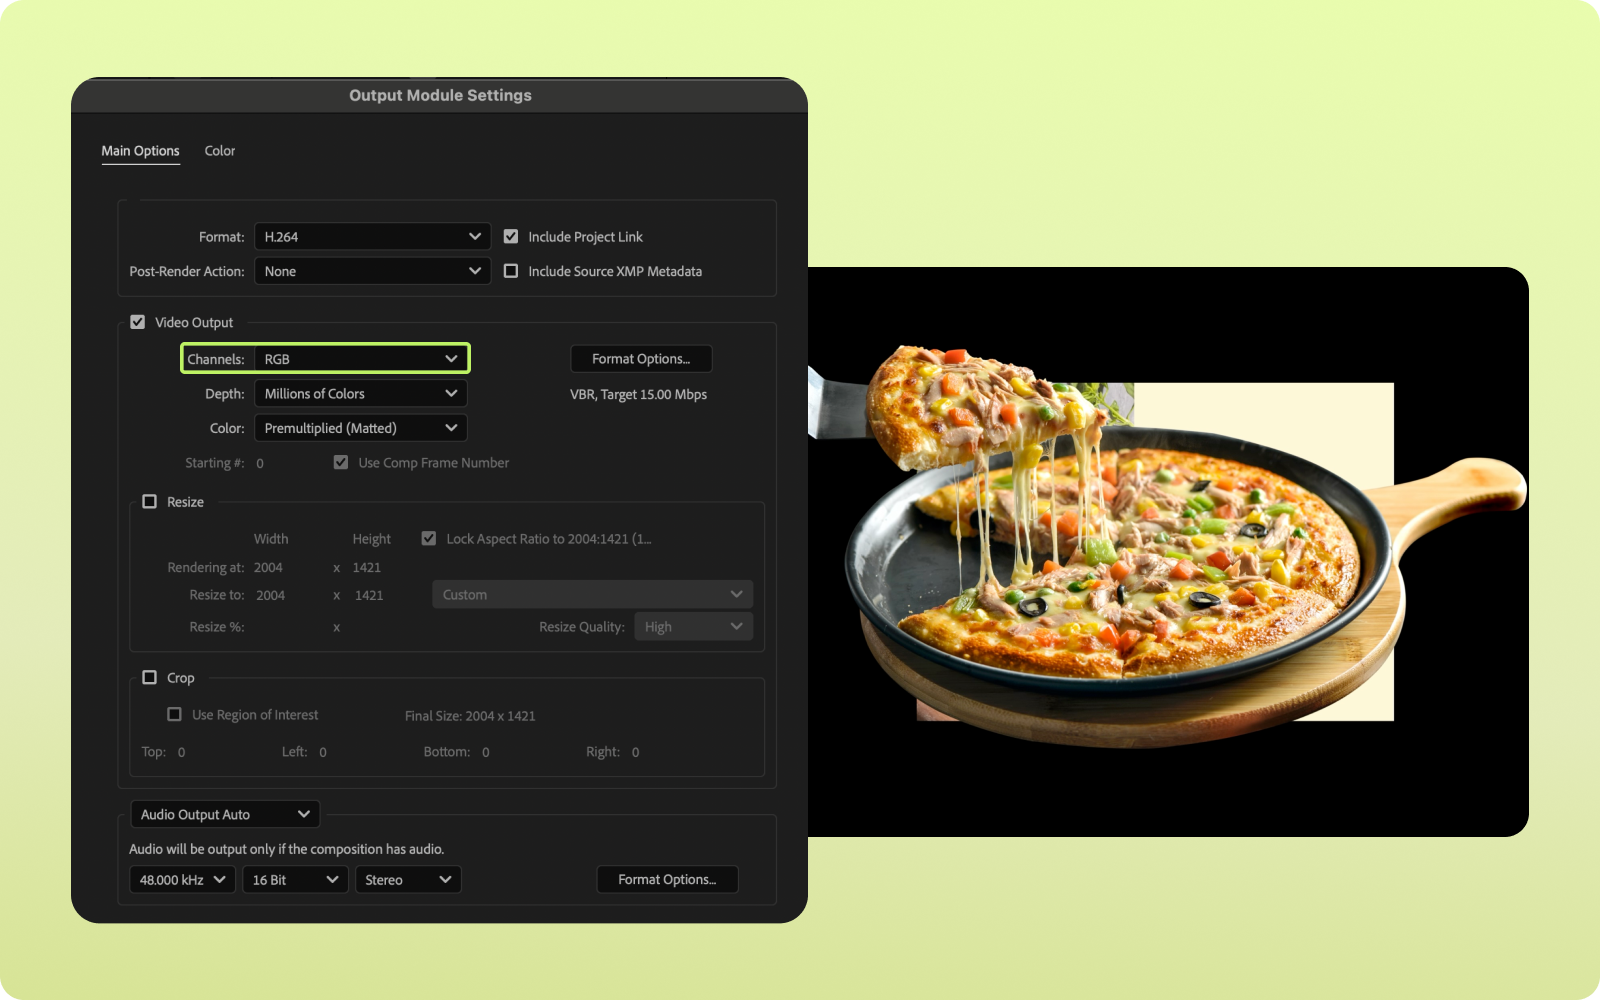
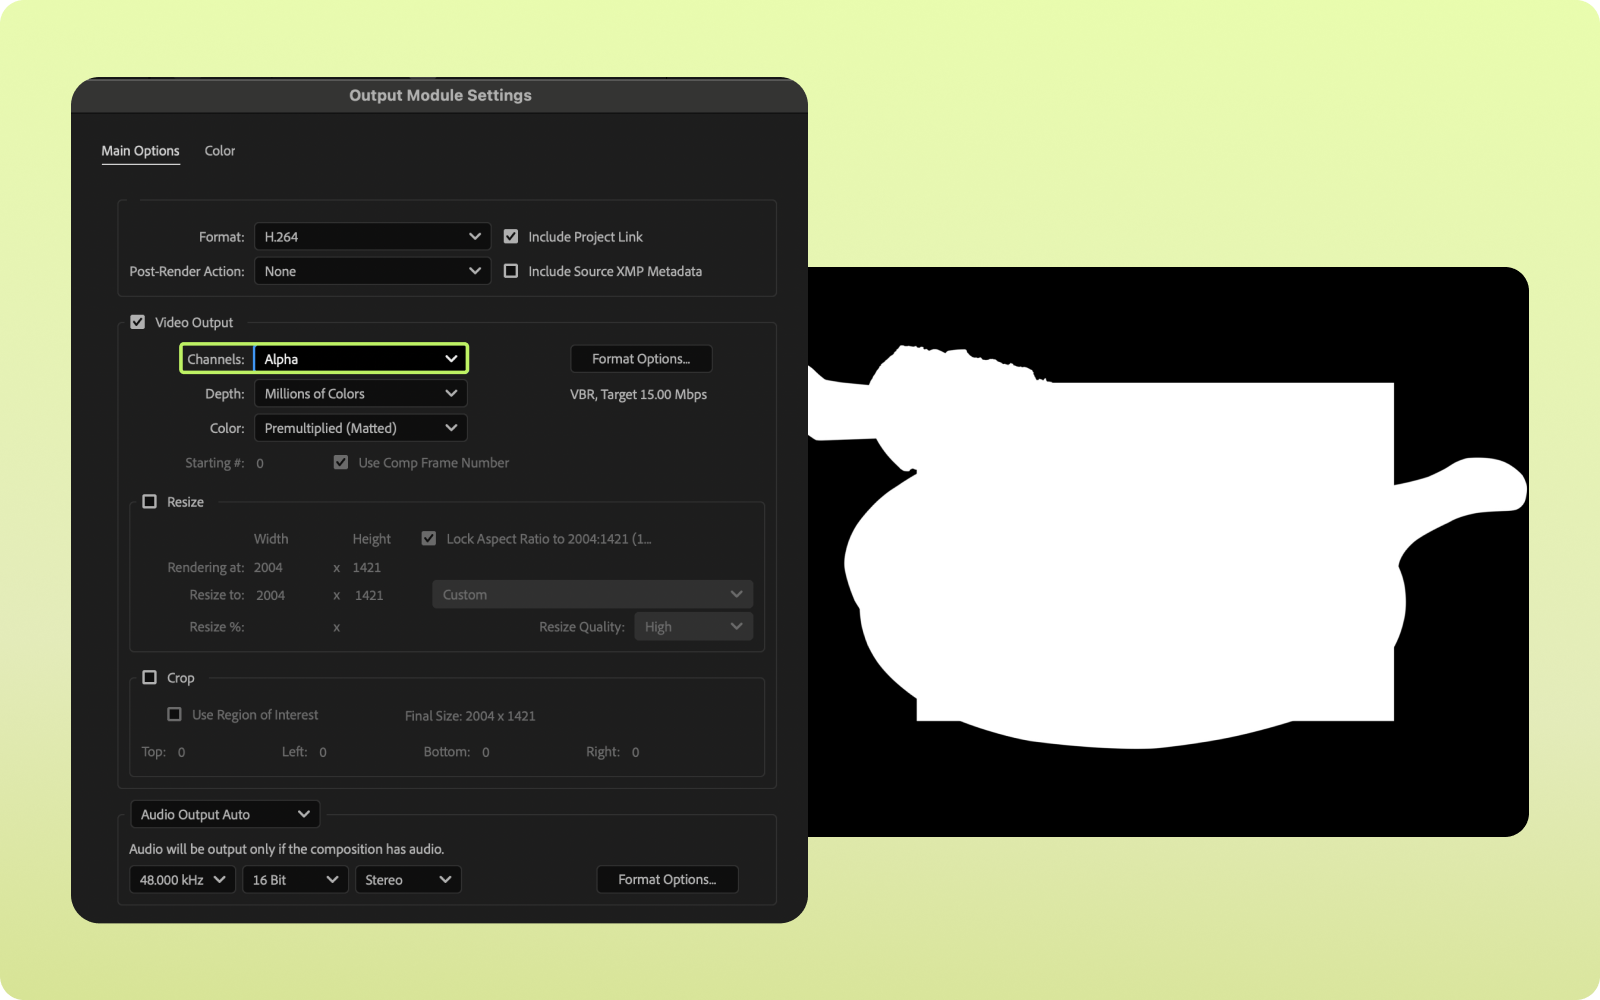
6. Render the Alpha Mask (Transparency)
- Go back to the Pre-Comp and mute it.
- Open the Render Queue (Ctrl + M / Cmd + M) and add the comp.
- In the Render Settings, select Alpha.
- Render this comp—this will be your alpha mask video.
Now you have your main video and a separate alpha mask ready to be used for your experience!
Customising experience
- Upload your main video
- Upload the alpha mask video
- Adjust experience placement as required. Check out placing experience to learn more.
